Beginner’s Guide to Creating 3D Models: Essential Techniques and Tools for Success
Creating 3D models can seem daunting for beginners, but it is an accessible and rewarding skill. This guide will equip readers with the essential steps and tools needed to embark on their 3D modeling journey. Whether for gaming, animation, or product design, understanding the foundational concepts will enable them to bring their ideas to life in three dimensions.
Starting with the right software is crucial. Many options cater to different skill levels, from beginner-friendly programs to advanced applications. By selecting software that fits their needs, readers can streamline their learning process and focus on developing their skills effectively.
Additionally, grasping key techniques such as modeling, texturing, and rendering will enhance their capabilities. Exploring tutorials, practicing regularly, and studying existing models will foster growth and creativity. Embracing these elements will help aspiring modelers build a solid foundation and grow their expertise in 3D design.
Essential Tools and Software for 3D Modeling
Selecting the right tools and software is crucial for anyone starting in 3D modeling. The effectiveness of the modeling process largely depends on both the software used and the hardware capabilities available.
Popular 3D Modeling Software
Several software options dominate the 3D modeling landscape. Blender is a highly popular choice due to its open-source nature and extensive community support. It offers a comprehensive set of features, including sculpting, texturing, and rendering capabilities.
Autodesk Maya is favored in the film and animation industries for its advanced tools for character rigging and animation. It requires a subscription but provides robust options for professionals.
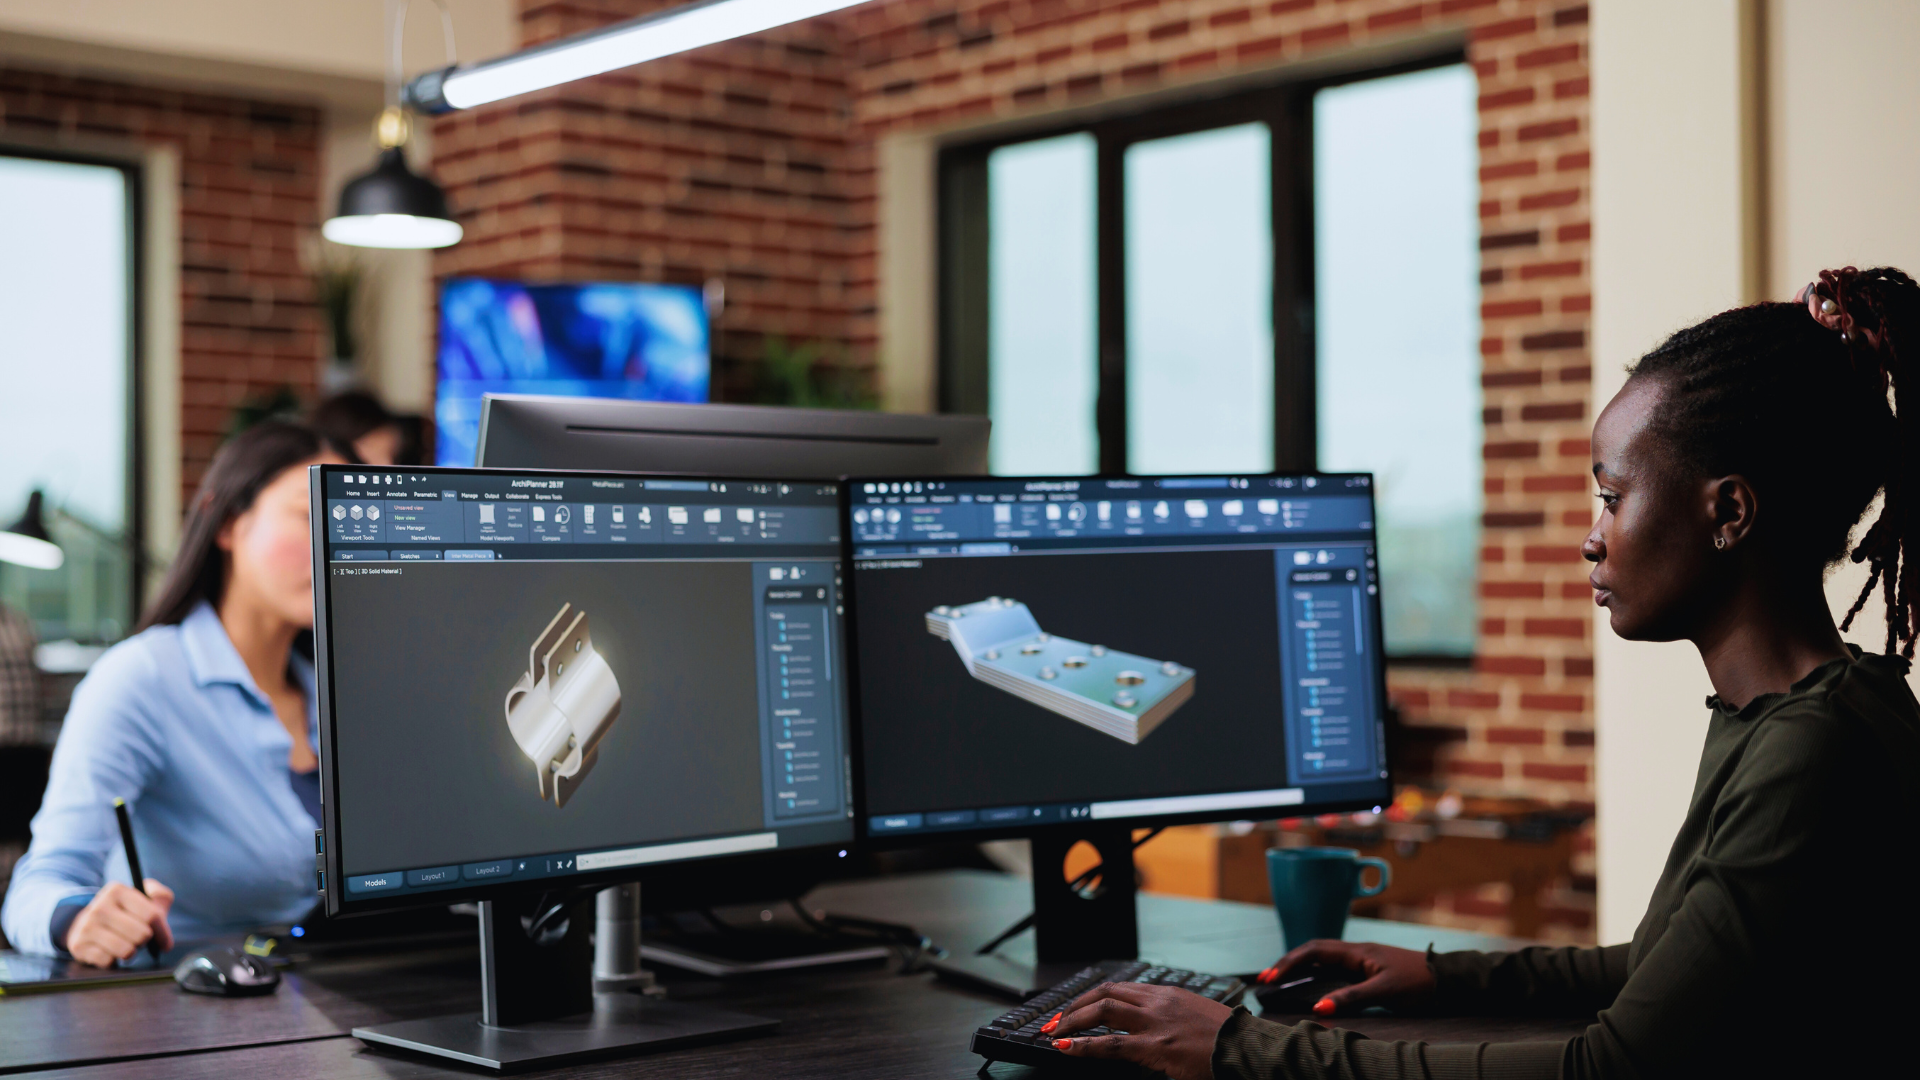
3ds Max is another Autodesk product, often used for architectural visualization and game design. It features a user-friendly interface that is appealing for beginners, providing a smooth learning curve.
System Requirements and Setup
Each software has distinct system requirements that must be met for optimal performance. For Blender, a decent CPU, at least 8 GB of RAM, and a graphics card supporting OpenGL 2.1 or higher are recommended.
Maya typically requires a more powerful system, often needing a multi-core processor and a minimum of 16 GB of RAM. A compatible graphics card, such as NVIDIA or AMD, enhances rendering speeds.
It’s essential to consider storage space as well, with many 3D files reaching large sizes. A solid-state drive (SSD) is preferable for faster access to assets and quicker load times.
Choosing the Right Tool for Your Project
The choice of software depends on the specific project requirements and personal preference. For beginners, Blender offers an excellent starting point due to its zero cost and vast range of learning resources.
For projects that involve detailed animations or game design, Maya or 3ds Max could be more suitable. These provide enhanced features that cater to specific industries.
It’s advisable to experiment with trial versions of different software packages to gauge comfort and functionality before making a commitment.
Planning and Starting Your First Basic 3D Model
Creating a basic 3D model involves careful planning and understanding of fundamental concepts. The following sections will guide you through gathering references, essential principles of 3D modeling, the process of starting a model, and utilizing tutorials effectively.
Planning and Reference Gathering
Effective planning sets the stage for a successful 3D modeling project. The first step is to gather references that align with the intended subject. This may include photographs, sketches, or existing models.
- Identify the Subject: Choose what to model. It could be an object, character, or environment. Make sure it’s manageable for a beginner.
- Collect Reference Images: Look for multiple angles. Use these images to understand dimensions and proportions.
- Create a Mood Board: Compile images that inspire the design. This will help to maintain visual consistency.
Proper planning saves time and enhances creativity during the modeling phase.
Understanding 3D Modeling Fundamentals
Grasping the fundamentals of 3D modeling is crucial. Key concepts include:
- Geometry Basics: Learn about vertices, edges, and faces. These elements combine to form shapes.
- Modeling Techniques: Familiarize with methods such as box modeling and sculpting. Each has its application depending on the project.
- Software Proficiency: Choose a 3D modeling software that suits your needs. Common options include Blender, Autodesk Maya, and SketchUp.
Understanding these basics aids in navigating software and techniques effectively. It builds a solid foundation for creating models.
Creating Your First Basic Model
After planning and acquiring knowledge, begin the modeling process. Start with simple shapes before moving to complex designs. Follow these tips:
- Begin with a Basic Shape: For instance, start with a cube or sphere. Modify it to represent the intended form.
- Use Reference Images: Keep them visible while modeling. This helps maintain proportions and accuracy.
- Iterate and Refine: Regularly make adjustments. 3D modeling is an iterative process—don’t hesitate to make changes.
These steps facilitate a smoother transition from concept to execution.
Working with 3D Modeling Tutorials
Utilizing online tutorials can enhance learning and skill development. Follow these guidelines to maximize their effectiveness:
- Choose Targeted Tutorials: Focus on tutorials that align with specific skills, like texturing or rigging.
- Step-by-Step Following: Reproduce the techniques demonstrated. This reinforces learning and skill application.
- Engage with Community: Participate in forums or groups. Asking questions and sharing progress can provide valuable feedback.
Tutorials are an excellent resource for beginners, enabling the acquisition of various skills in 3D modeling.
Core 3D Modeling Techniques and Workflow
Understanding the essential techniques and workflow in 3D modeling is crucial for creating effective digital models. The following sections outline the core processes, methods, and introduction to animation within 3D environments.
The 3D Modeling Process
The 3D modeling process typically begins with conceptualization, where artists think about the design and purpose of the model. Following that, they often create sketches or reference images. Next, blockout modeling helps to define the basic shape and structure using simple geometric forms.
Once the blocking is complete, artists can proceed to refinement, adding details and enhancing the model’s complexity. Tools like extrude, scale, and rotate allow for adjustments in shape. Texturing and material assignment come next, providing surface detail and realism. The final step includes exporting the model for use in various applications such as games or films.
Polygonal Modeling Methods
Polygonal modeling is one of the most common techniques used in 3D modeling. It involves creating objects using vertices, edges, and faces. The triangles and quads that make up the model can be manipulated individually for detailed shapes.
Key methods in polygonal modeling include Box Modeling and Edge Modeling. Box Modeling starts with basic shapes and refines them into complex forms. Edge Modeling, on the other hand, builds detail by focusing on edges, allowing for precise control over the model’s silhouette.
Artists often utilize tools like bevel, loop cut, and merge to enhance their models, ensuring high-quality results suitable for diverse applications.
Introduction to Animating and 3D Animations
Animating 3D models adds another layer of complexity and creativity. The animation process begins with setting up a skeleton or armature, allowing for the manipulation of the model’s movements. This is commonly referred to as rigging.
Once the rig is complete, artists use keyframes to define starting and ending positions for the model. Interpolation techniques help create fluid motion between keyframes. Additionally, using animation curves can streamline adjustments for timing and transitions.
3D animations can range from simple movements to complex sequences. Tools like Blender, Maya, and 3ds Max are popular for both modeling and animation tasks, providing comprehensive features for artists to bring their digital models to life.
Finishing Touches: Rendering, Lighting, and Beyond
Achieving a polished 3D model involves careful attention to rendering, lighting, and post-processing techniques. Each aspect plays a crucial role in enhancing the final visual output, whether for printing, gaming, or modeling services.
Rendering Techniques for 3D Models
Rendering converts 3D models into 2D images while considering textures, shadows, and reflections. Common rendering techniques include Ray Tracing and Rasterization. Ray tracing simulates light behavior to provide realistic visuals, especially for shadows and reflections.
Rasterization, on the other hand, is faster and typically used in real-time applications like games. The choice of technique impacts the quality and performance of the render.
Additionally, software like Blender or Autodesk Maya offers different rendering engines, such as Cycles or Arnold. Understanding the capabilities of each engine helps in achieving desired results effectively.
Now, when it comes to rendering professionally, projects often involve high-resolution scenes, complex textures, and detailed lighting, which can overwhelm standard computers and drastically increase render times. In such cases, using a blender render farm can allow artists to offload these intensive tasks to powerful cloud servers, delivering faster results while keeping their own machines free for modeling and creative work.
Applying Lighting for Realism
Lighting significantly influences the perception of 3D models. Three primary types of lights are commonly used: Point Lights, Spotlights, and Directional Lights.
- Point Lights simulate small light sources, illuminating the space equally in all directions.
- Spotlights create focused beams, suitable for dramatic effects.
- Directional Lights mimic sunlight, casting parallel rays that enhance outdoor scenes.
Color temperature and intensity are adjustable parameters that help achieve realistic results. Implementing multiple light sources can create depth, enhancing the model’s features while avoiding flat visuals.
Post-Processing and Visualization
Post-processing involves applying effects to enhance the visual quality of the render. Techniques may include color grading, adding depth of field, or integrating special effects.
Settings such as contrast, saturation, and sharpness can be adjusted to improve final images. Tools like Adobe Photoshop or After Effects help refine these elements further, giving them a professional look.
Moreover, visualizations can be enhanced using materials that simulate real-world properties, improving the overall aesthetic.
Preparing 3D Models for Printing, Games, and Services
Proper preparation is vital for 3D models intended for different applications. For 3D printing, models must be manifold and watertight to avoid errors during the printing process. Simplifying complex geometry helps ensure a smooth transition from digital file to physical object.
For gaming, a focus on polygon count and texture size is essential. Low-poly models can enhance performance while maintaining visual fidelity.
In the case of 3D modeling services, providing common file formats like STL or OBJ eases compatibility across various platforms. Understanding the specific requirements of the intended application enables better results and more efficient workflows.